Scope of this article
OpenVPN has the highest degree of flexibility of VPN server and clients, and is available on all modern platforms. Setting it up can range from easy-as-defaults, to super complicated. In this how-to, we are opting for simplicity and simple setup that relies on a username and password. That’s already a lot stronger than the traditionally easy-to-use PPTP which is not even available on the iPhone/iPad anymore since the release of iOS 10.
You want to follow these steps in order to enjoy your ADAM filtering (default ruleset) when you’re away from your home or office.
ASUS router setup – Part 1
- Log into your box https://router.asus.com:8080 on your internal network
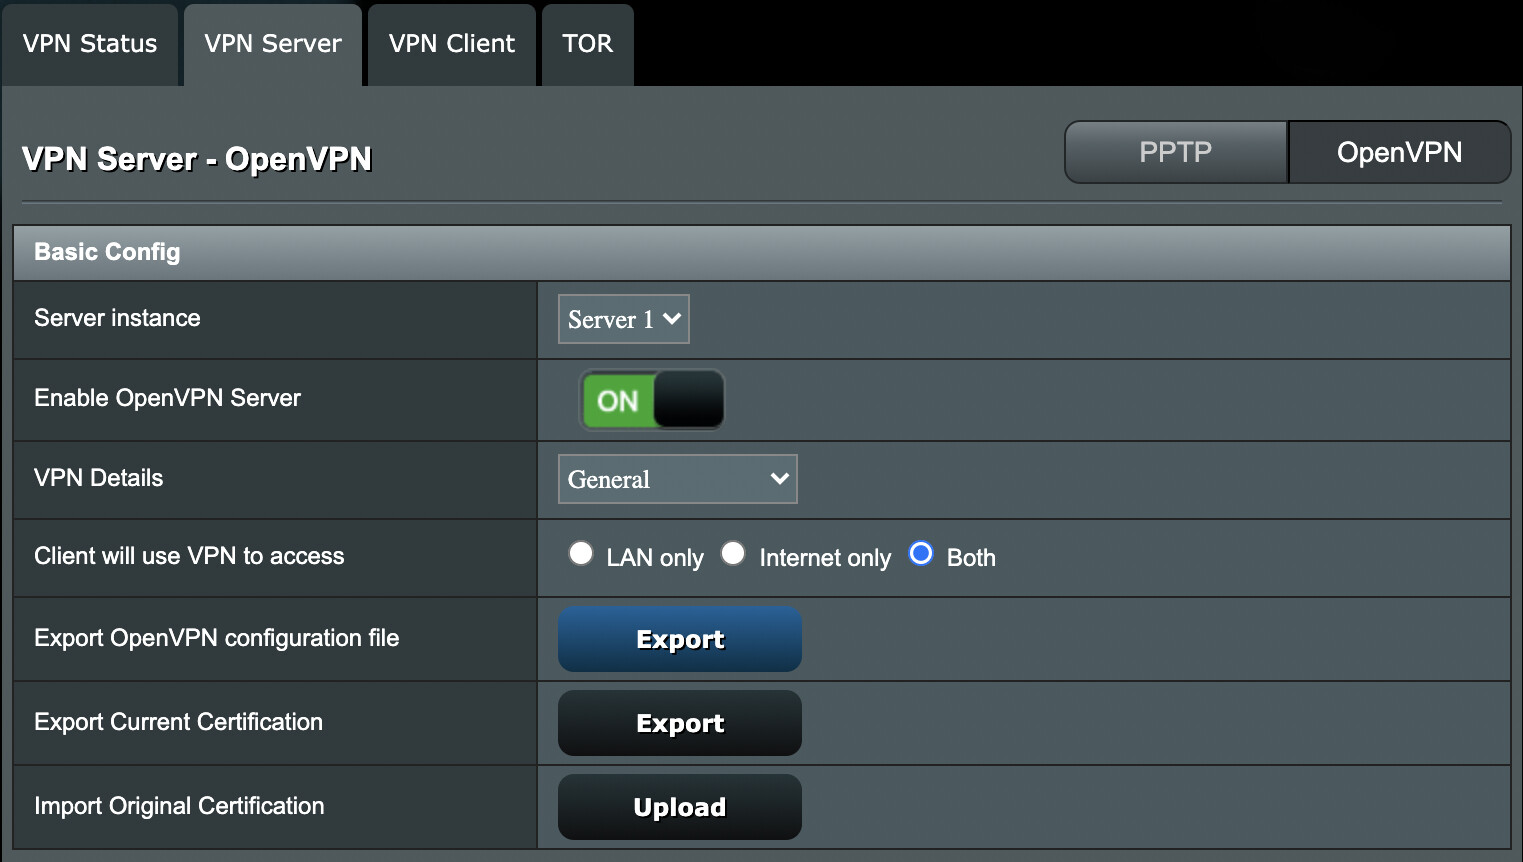
- Select VPN on your vertical menu, then OpenVPN Servers tab
- Choose to Enable your OpenVPN Server #1 (assuming it was disabled)
- Add a username , password and don’t forget to click the “ + ” (plus sign) to the right
- Click APPLY
ASUS router setup – Part 2
If we needed no modifications, the server-side would be ready. However, we’re going to suggest these changes for reasons of simplicity as well as achieving the functionality of FULL DNS and default route functionality. This means that you will enjoy ADAM default ruleset filtering even when you’re away from home:
- Make sure you’re still under https://router.asus.com:8080 → VPN → OpenVPN Server tab
- Under VPN Details select Advanced Settings
- Leave all details as they are except the ones listed here to change
- Not required, but recommended to change the port from 1194 to something like 51194 (using non-default ports is not only a good security measure, but many ISPs are blocking their own subscribers from hosting on port 1194)
- Username/Password Auth Only should also be set to Yes
- Set Advertise DNS to clients to Yes
- Click on Apply

ASUS router setup – Part 3
-
Select VPN area General
-
Select Client will use VPN to access Both (assuming you wish for a Full VPN vs a Split VPN)
-
Click on Export OpenVPN Configuration File → Export, which will download
client1.ovpn
-
Lookup your own ADAM dynamic DNS URL under dashboard.adamnet.works → Advanced → Info → Copy your Dynamic DNS URL; something like xxx-xxx.2my.network (this is just an example, yours will be different)
-
Open the client1.ovpn file in a text editor (right-click, open with your favorite text editor) and make one change manually:
-
Find the line that look like “remote 142.5.6.7 51194” and replace the IP address with your dyndns name so it looks like this:
-
remote xxx-xxx.2my.network 51194
-
Save the .ovpn file
-
You’re now ready to distribute the .ovpn file to any device that will be connecting remotely.
-
On your client devices, follow the instructions under each of the sections available under VPN → OpenVPN Servers tab like this: